
Note: This option is not available for broker agents, leased on carriers or dispatchers. Contact DAT to add a seat if you are one of these entities.
- Navigate to account.dat.com and login with your DAT credentials.
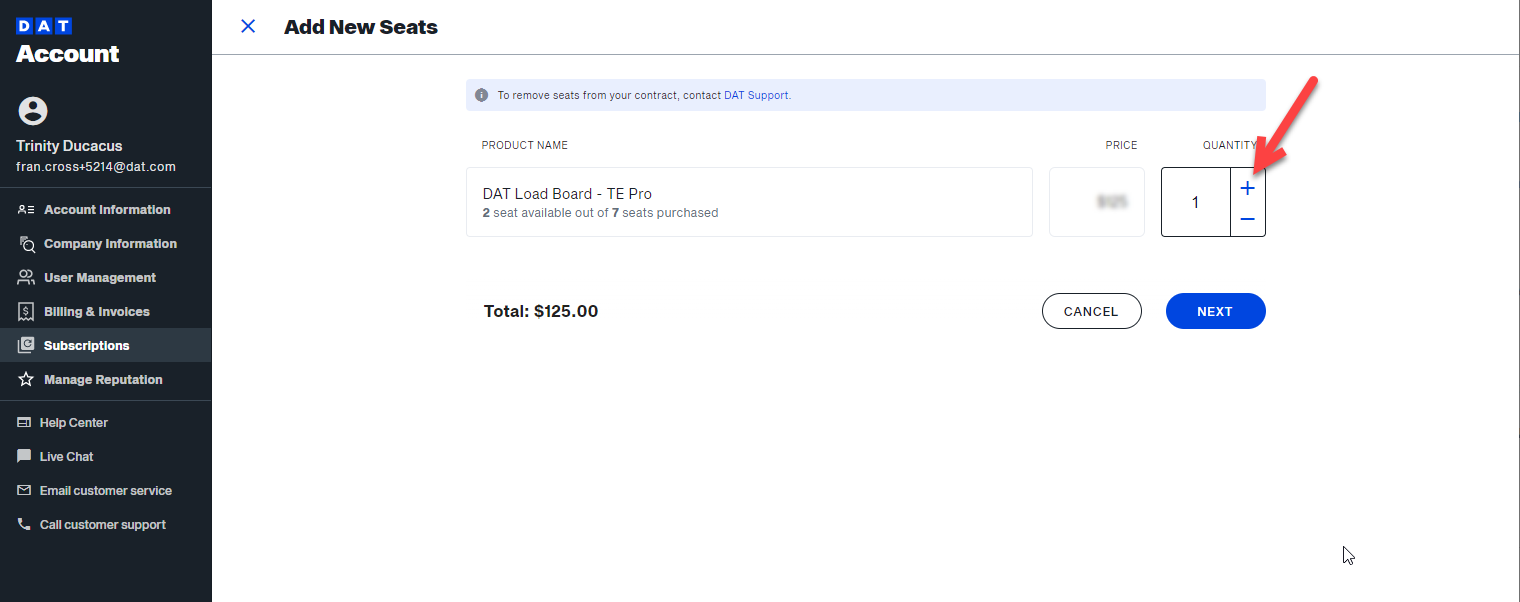
- Click/tap on Subscriptions from the menu, then click on + ADD SEATS

- Click on the (+) sign to add the amount of additional seats. Here you will see the PRICE of each seat and your total cost, then click the NEXT button
 Note: This page shows how many seats are available in your account. If there are enough seats for the user(s) you’re creating, skip ahead to the “Create User” step.
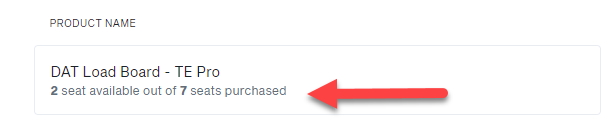
- You will now see the Service Agreement Quote with old and new monthly prices. From there scroll down to the bottom of the page to click on all 3 boxes confirming that you have read and agreed to the terms listed. Then click ACCEPT AND SUBMIT.

- At this point you will see a yellow banner at the top of your screen confirming your seat increase and that it will take up to 20 minutes for the seat to become available. You will also see your seat +1 pending below the banner.

- When your seat becomes available the banner will switch over to a blue banner at the top of your screen to let you know that your seat is ready to be used.
Create a new user and assign them the purchased seat
- Click on User Management
- In the upper right hand corner, click on Create a New User
- Enter the user profile information
- Under Seat Assignments click the box. Here it will tell you if there are seats available

- Click Create User. You will receive a verification message that says:

- Click CLOSE.
- The new user needs to go to their email and locate the email from DAT no-reply@dat.com
- Open the email and click SET MY PASSWORD

- You will be taken to a Change password screen where you will need to create a new password. Create and verify the new password

- You will receive a message that your password has been successfully changed and will be presented with a login button

- This takes you HERE where you will select the product you are subscribing to
- Go to Account Information and enter your new credentials